Article Summary
New to the dazzling world of diamond painting? This ultimate step-by-step guide is designed specifically for Canadian beginners. Learn everything from unboxing your kit and setting up your workspace to mastering drill placement and sealing your first sparkling masterpiece with confidence. Start your creative journey today!
Welcome, aspiring diamond artist, to your definitive guide to starting this captivating craft! If you’ve been intrigued by the sparkle of diamond painting but felt unsure where to begin, you've come to the right place. At Paint On Numbers Canada, we believe everyone deserves to experience the joy of creating something beautiful.
This isn't just an introduction; it's your personal, step-by-step tutorial designed to take you from a curious beginner to a confident diamond painter. We’ll walk you through everything, ensuring your first sparkling project is a relaxing and rewarding experience. For a deeper dive into the benefits and types of kits, check out our comprehensive Ultimate Guide to Diamond Painting Canada.

Step 1: Prepare Your Workspace & Kit
A little preparation goes a long way to ensure a smooth and enjoyable first experience. Think of this as setting the stage for your masterpiece!
Find Your Space:
- Choose a Flat, Well-Lit Surface: A clean table with good lighting is ideal. This helps you see the symbols clearly and ensures accurate drill placement.
- Gather Supplies: Beyond your kit, you might want a pair of fine-tipped tweezers for minor adjustments and a small container for discarded drills.
Unpack & Organize:

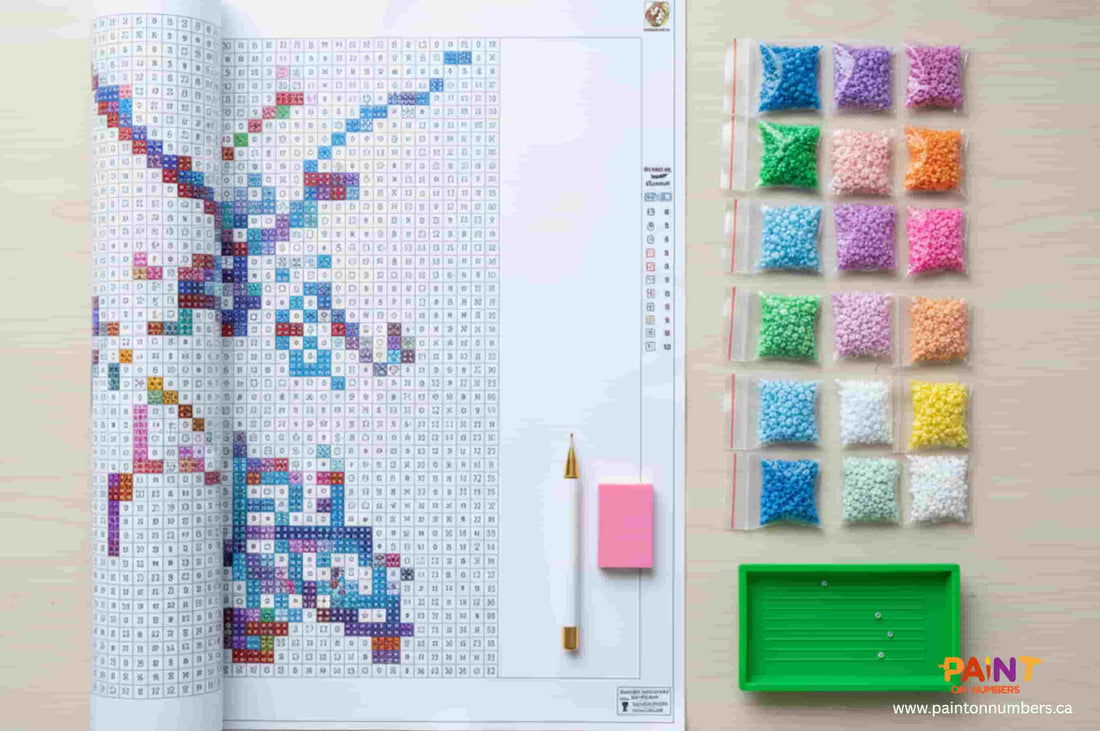
Organize your workspace and prepare your drills for a smooth start to your diamond painting project.
- Unroll the Canvas: If your canvas is rolled, gently unroll it and flatten it. You can place heavy books on it for an hour or two.
- Identify Symbols & Drills: Your canvas has symbols/numbers corresponding to specific drill colors. Match these with the codes on your diamond bags.
- Prepare Your Tray: Choose one colour of drills you want to work with first. Gently pour a small amount into your grooved tray and shake it slightly. The grooves help the diamonds face right-side up.
- Load Your Pen: Peel back a corner of the pink wax pad. Dip the tip of your diamond applicator pen firmly into the wax to pick up a small amount. This makes the diamonds stick!
- Peel Back the Film (Partially!): Only peel back a small section of the clear protective film from your canvas – just the area you plan to work on immediately. This keeps the adhesive fresh and dust-free.
Step 2: Start Diamond Painting!
This is where the magic happens! The process is simple, repetitive, and incredibly satisfying.

Carefully pick up and place each diamond drill onto its corresponding symbol on the adhesive canvas.
The Placement Process:
- Pick Up a Diamond: Use your loaded applicator pen to gently touch the top, faceted side of a diamond in your tray. It should stick to the wax-filled tip.
- Match & Place: Carefully place the diamond onto the corresponding symbol/number on your canvas. The adhesive will hold it in place. Apply gentle pressure.
- Work Methodically: Many beginners find it easiest to work in small sections (e.g., a 2x2 inch square) or row by row with a single colour before moving to the next. This helps keep things organized.
- Adjust as Needed: If a diamond is crooked, use tweezers or the back of your pen to gently nudge it into place before the adhesive fully sets.
- Continue: Repeat the process, enjoying the rhythm of creating your sparkling mosaic!
Step 3: Finishing Your Diamond Painting Masterpiece
Once every square is filled with dazzling diamonds, a few final steps will ensure your artwork lasts and shines for years to come.
Secure Your Diamonds:
- Press Down Firmly: Use a rolling pin, a flat book, or even your hands to gently but firmly press over the entire finished surface. This ensures all diamonds are securely adhered.
Seal for Longevity (Optional, but Recommended):
- Apply a Sealant: For extra protection and to prevent diamonds from falling off over time, apply a thin, even layer of a clear diamond painting sealant (like Mod Podge or a specialized diamond painting sealer) with a soft brush. Let it dry completely.
Frame & Display:
- Choose Your Frame: Select a frame that complements your artwork and your home décor. Remember, your diamond painting is art! For inspiration, see our guide on using paint by numbers as stunning home decor.
- Hang with Pride: Display your finished, shimmering artwork for everyone to admire!
Your Sparkling Journey Starts Now!
You now have all the tools and knowledge to embark on your first diamond painting adventure. Get ready to create something truly dazzling!
Discover Beginner Kits

